

Step 1: Create a Lead Mapper Account
Start your journey by setting up a Lead Mapper account. Follow these simple steps:
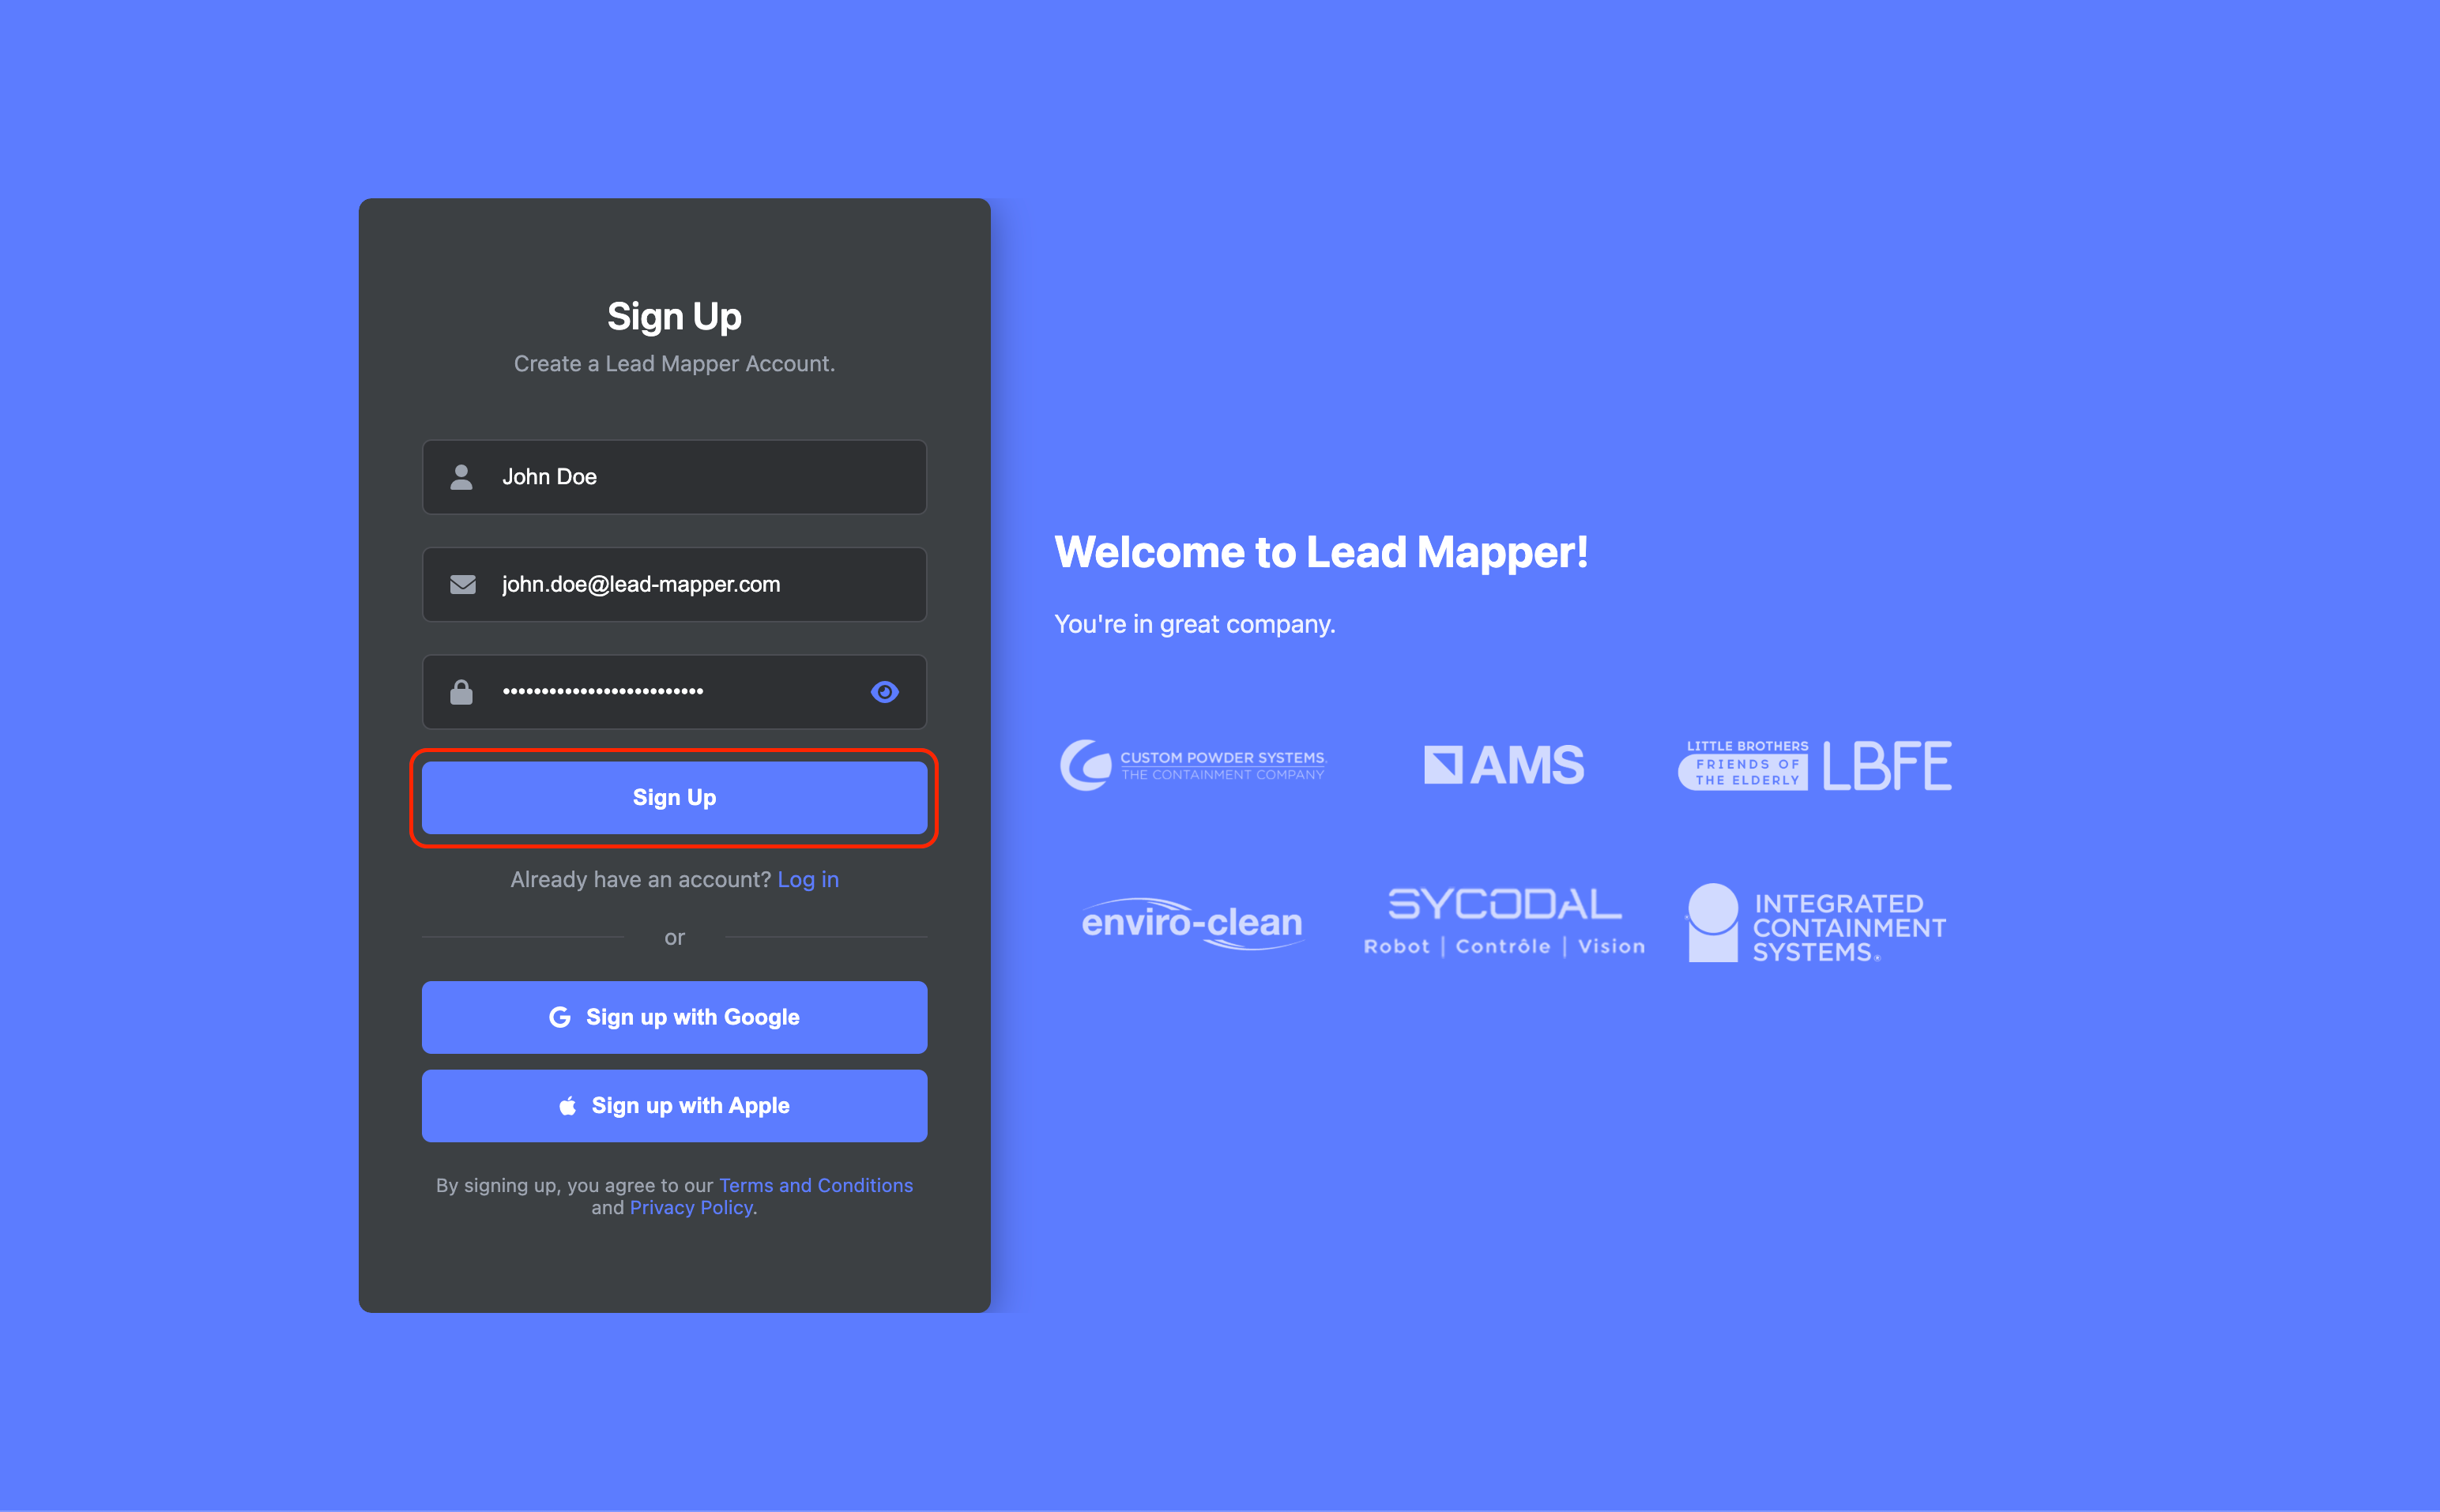
Go to Lead Mapper's website, fill in your name, email address, and password, then click the "Sign Up" button to create your account.
Step 2: Connecting Lead Mapper with Close
Now that you have a Lead Mapper account, let's establish a connection with Close. Here's how:
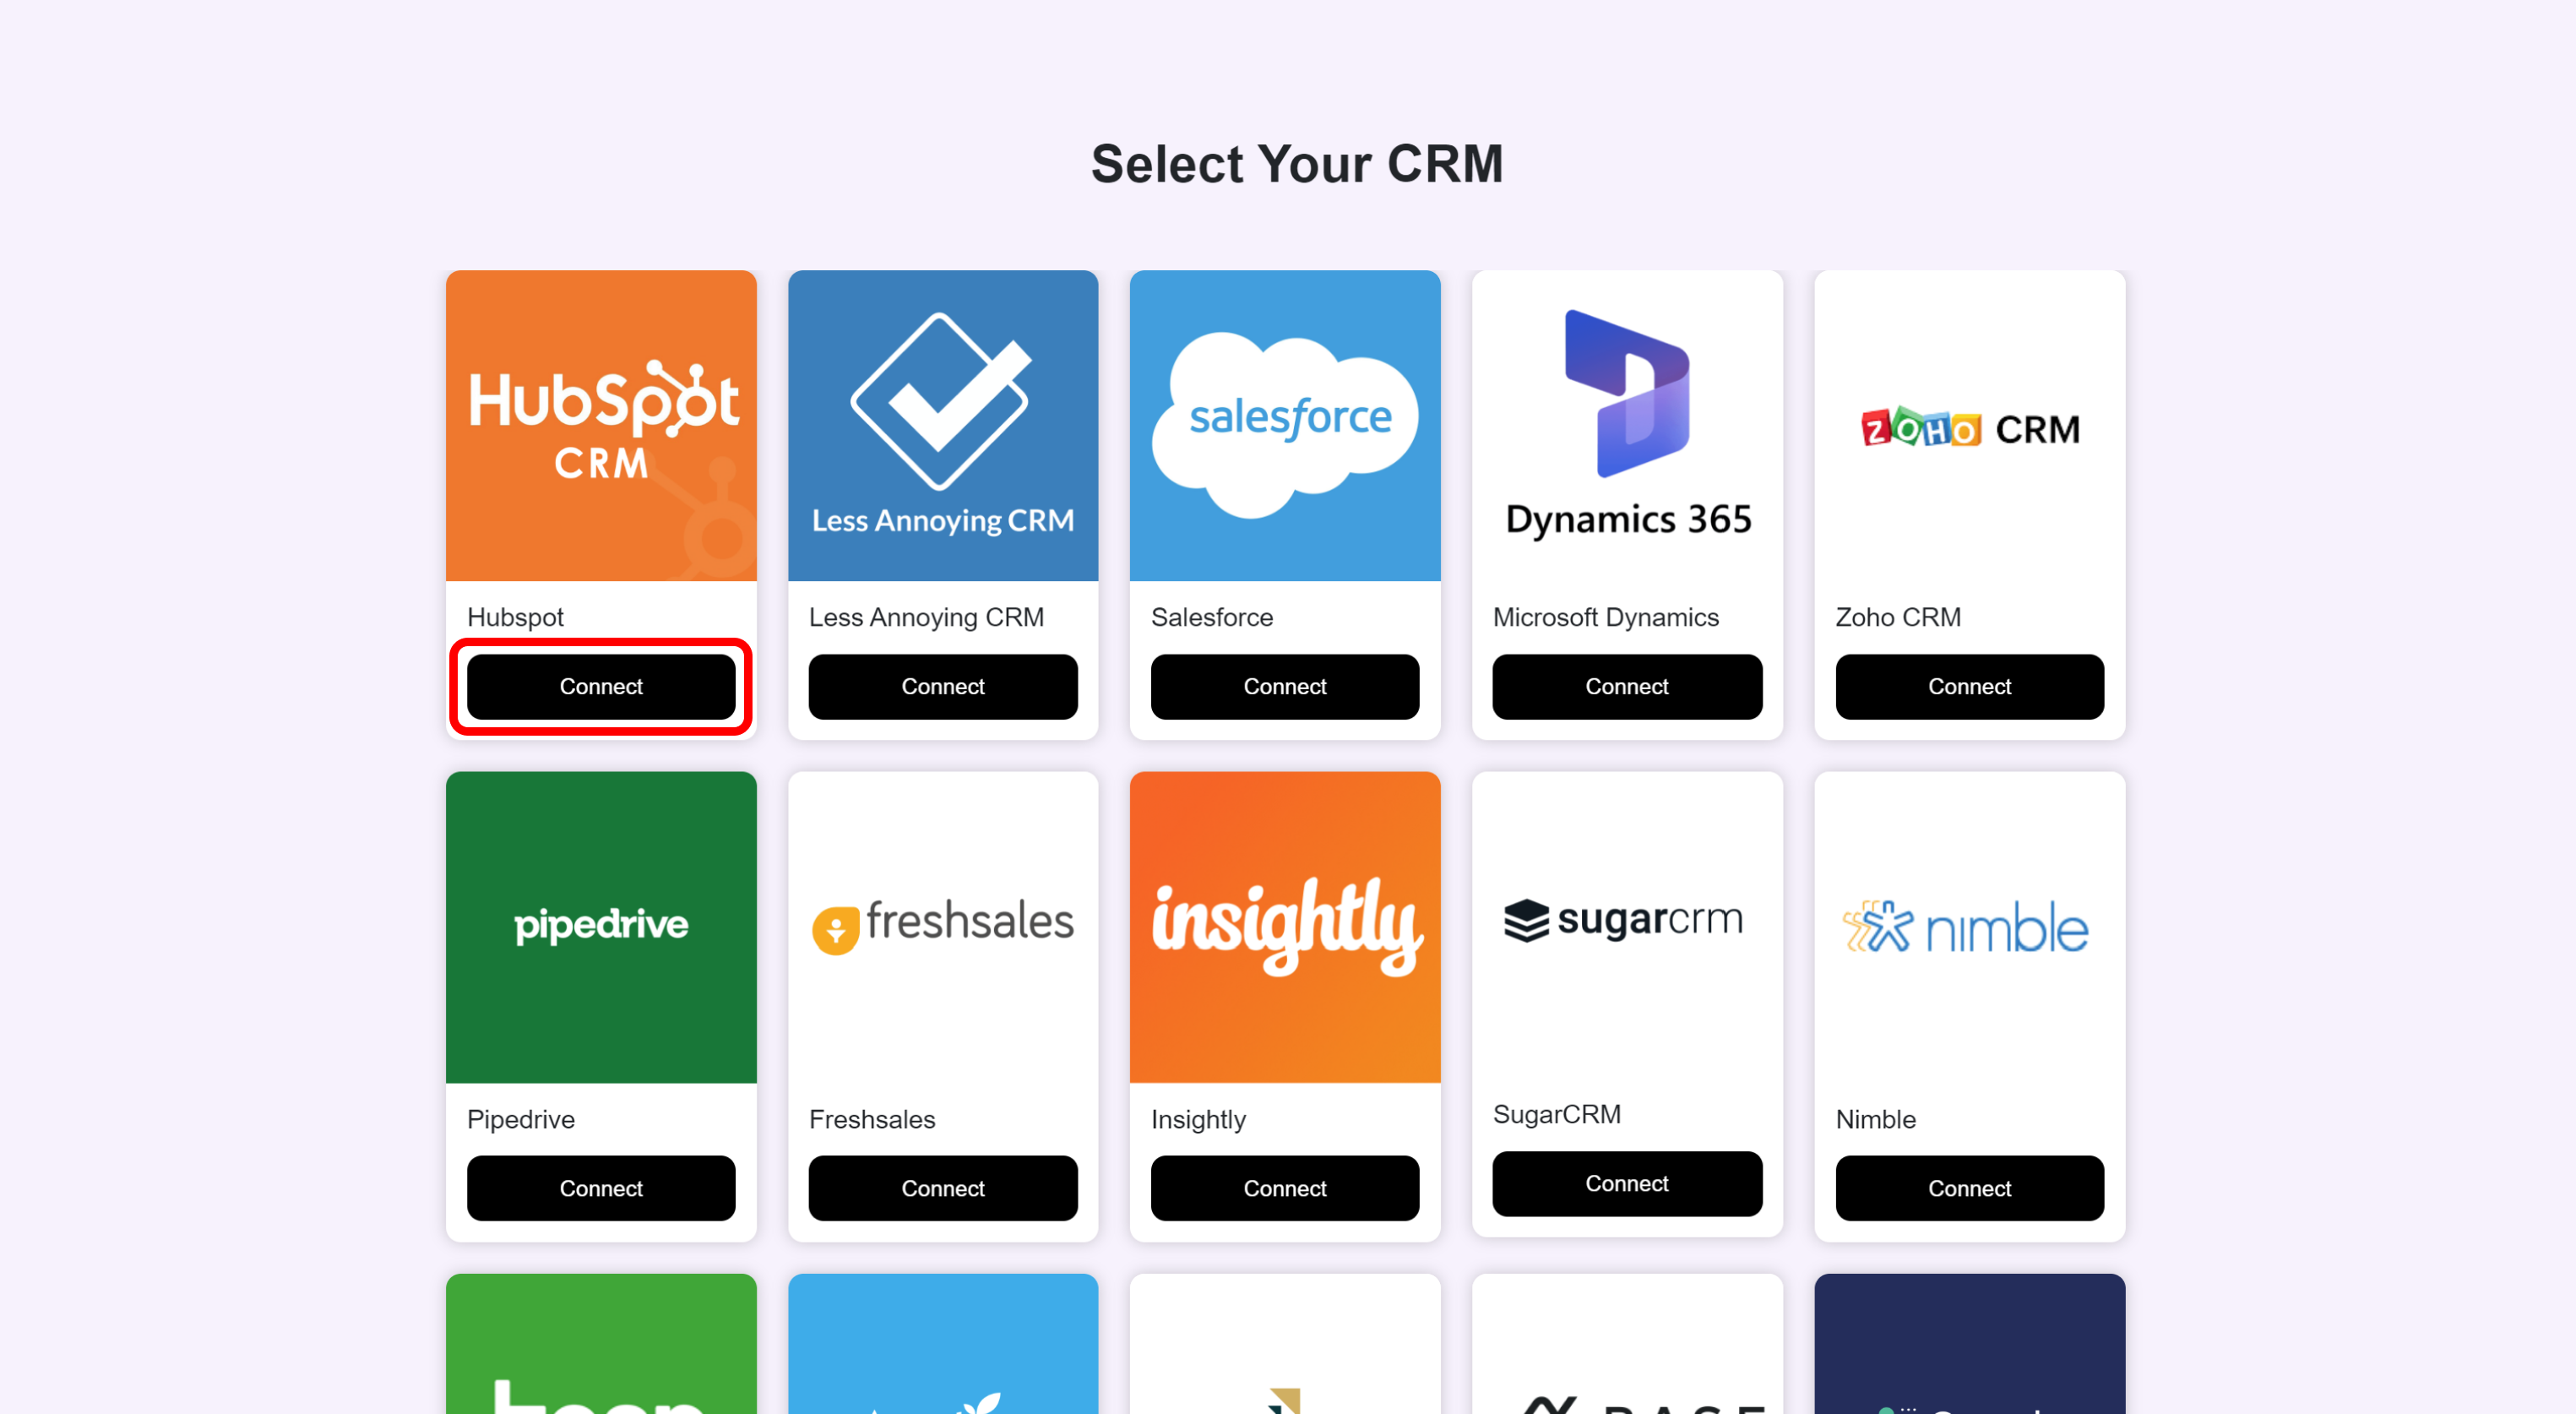
Click on the "Connect" option for Close.
If you're not already signed in to your Close account, you'll be prompted to do so.
Once you are signed in, select the Close organization you want to connect to Lead Mapper.
Approve the access request to finalize the connection.
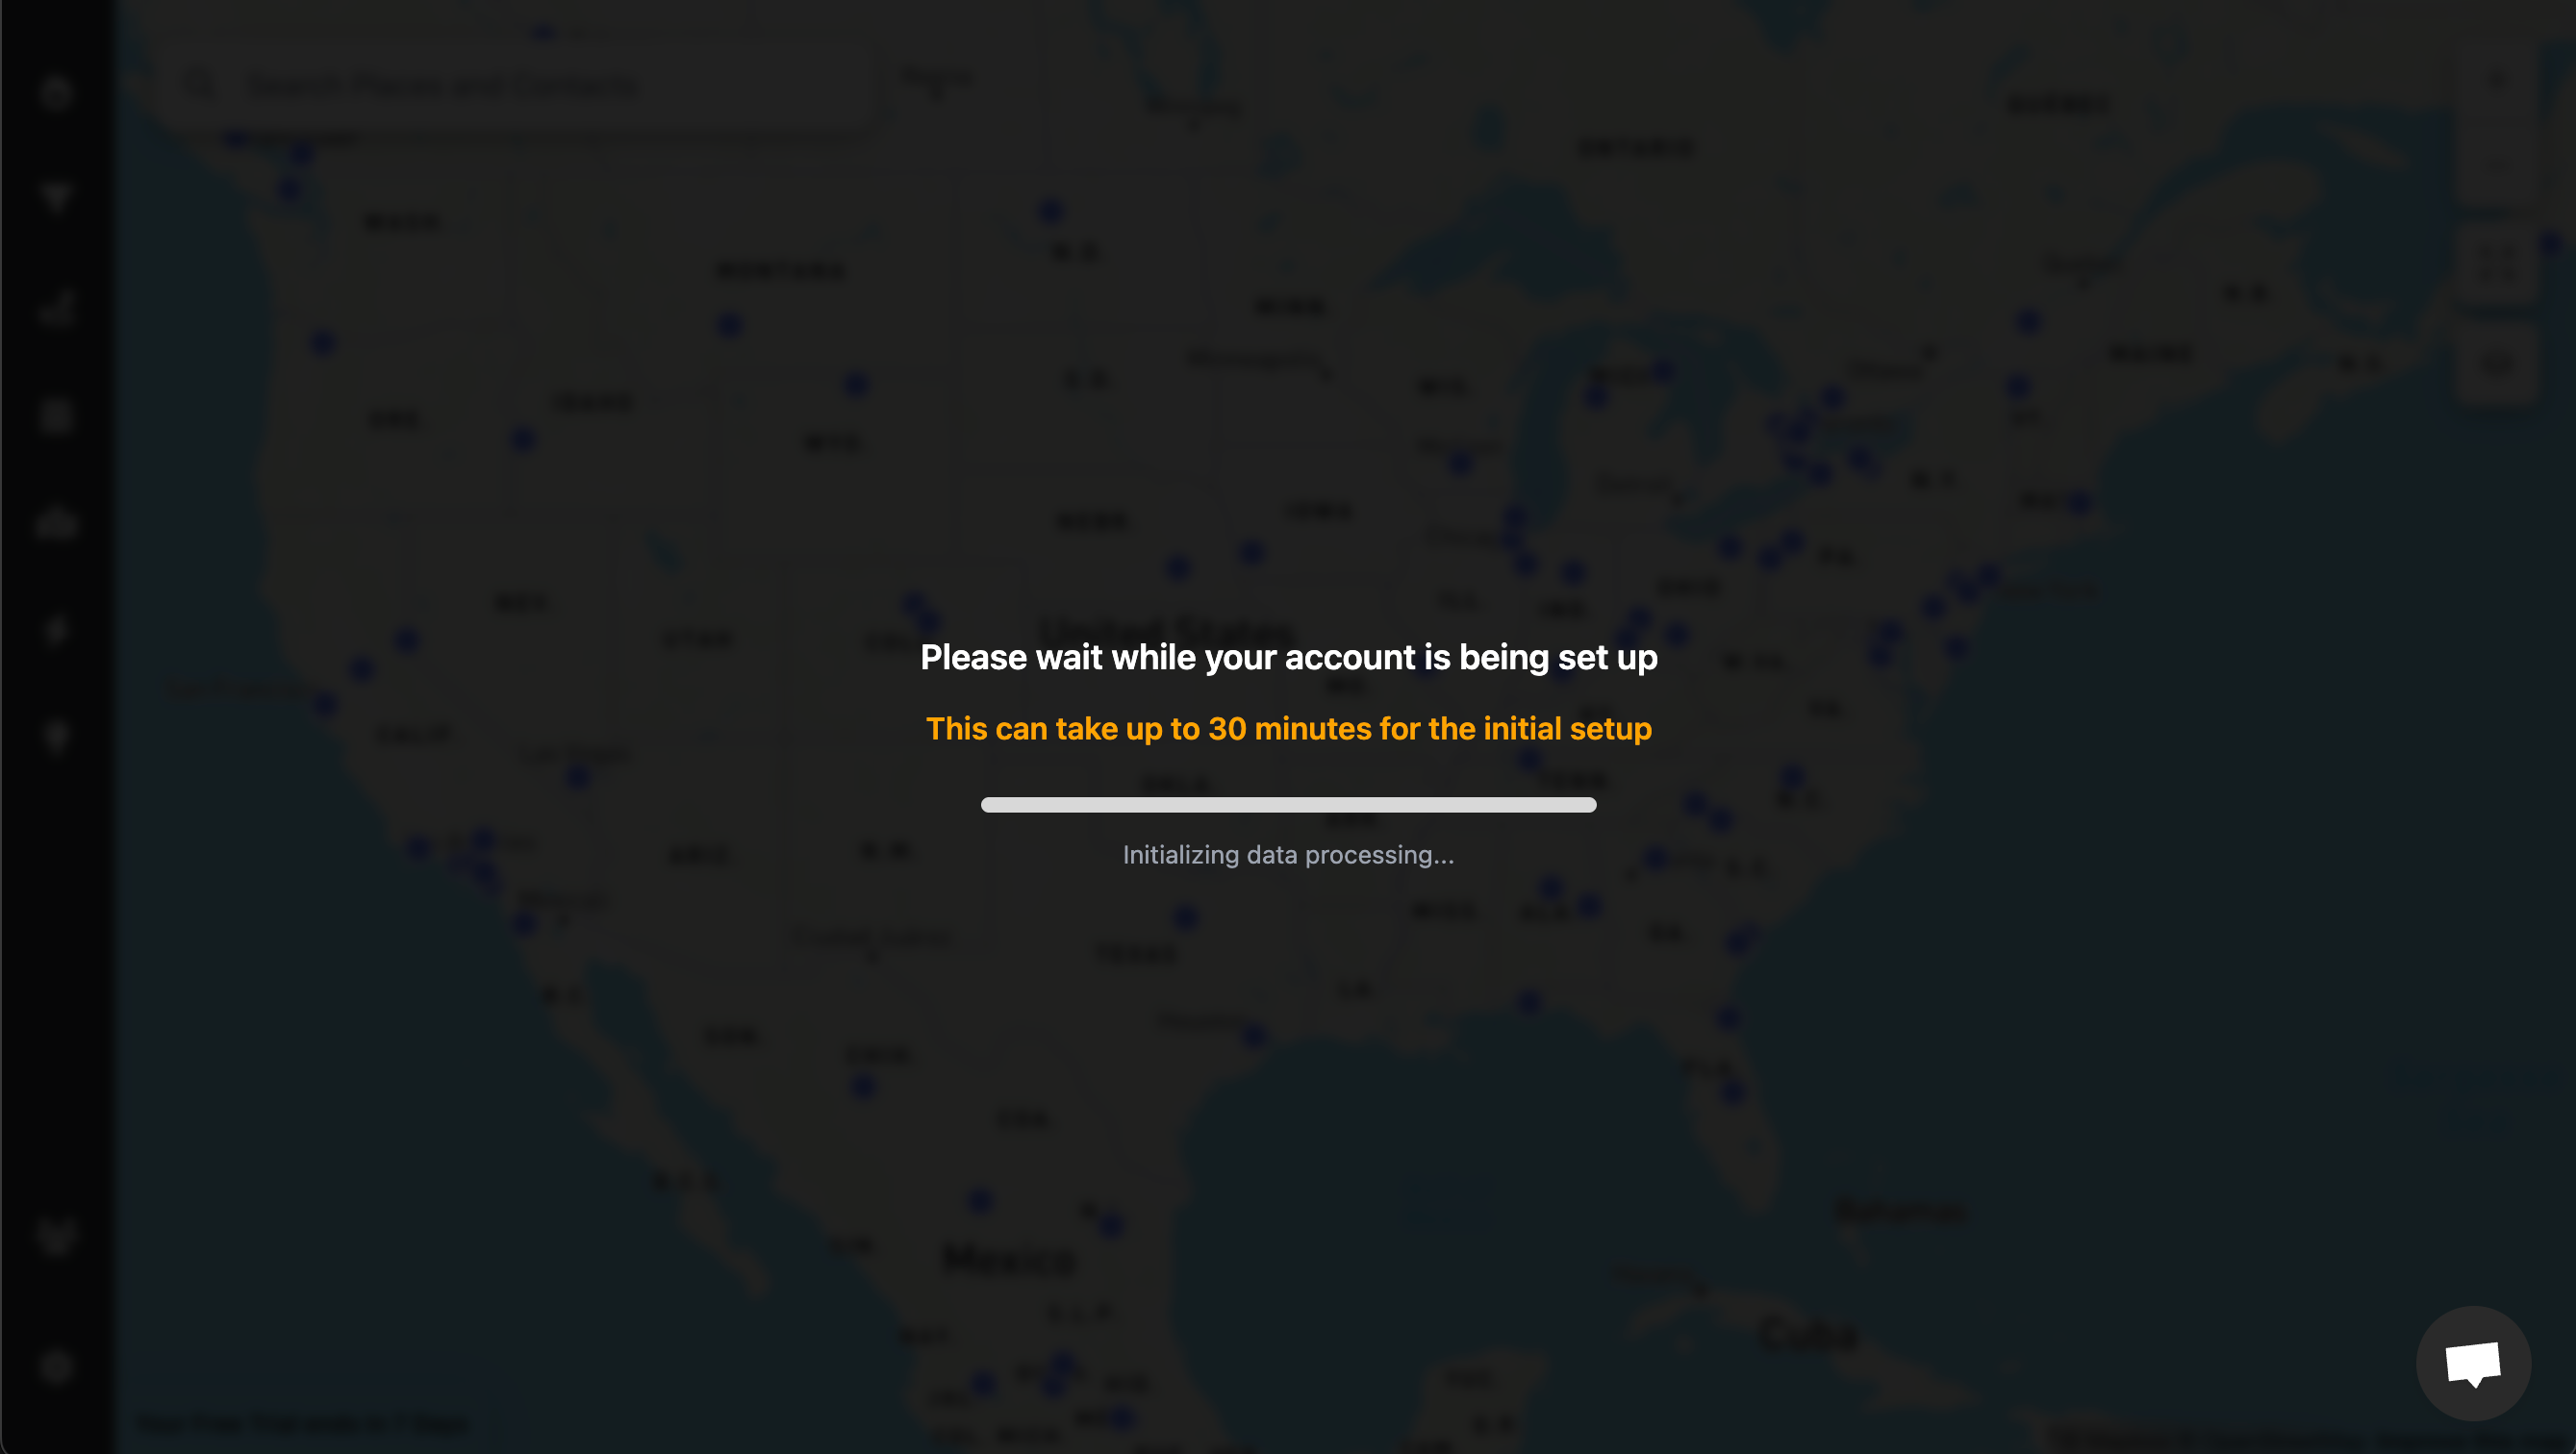
Step 3: Wait for your account to be set up
Once you’ve successfully connected your account, Lead Mapper will begin setting up your data and establishing a real-time synchronization channel with your CRM. This data process usually takes between 5 and 30 minutes.
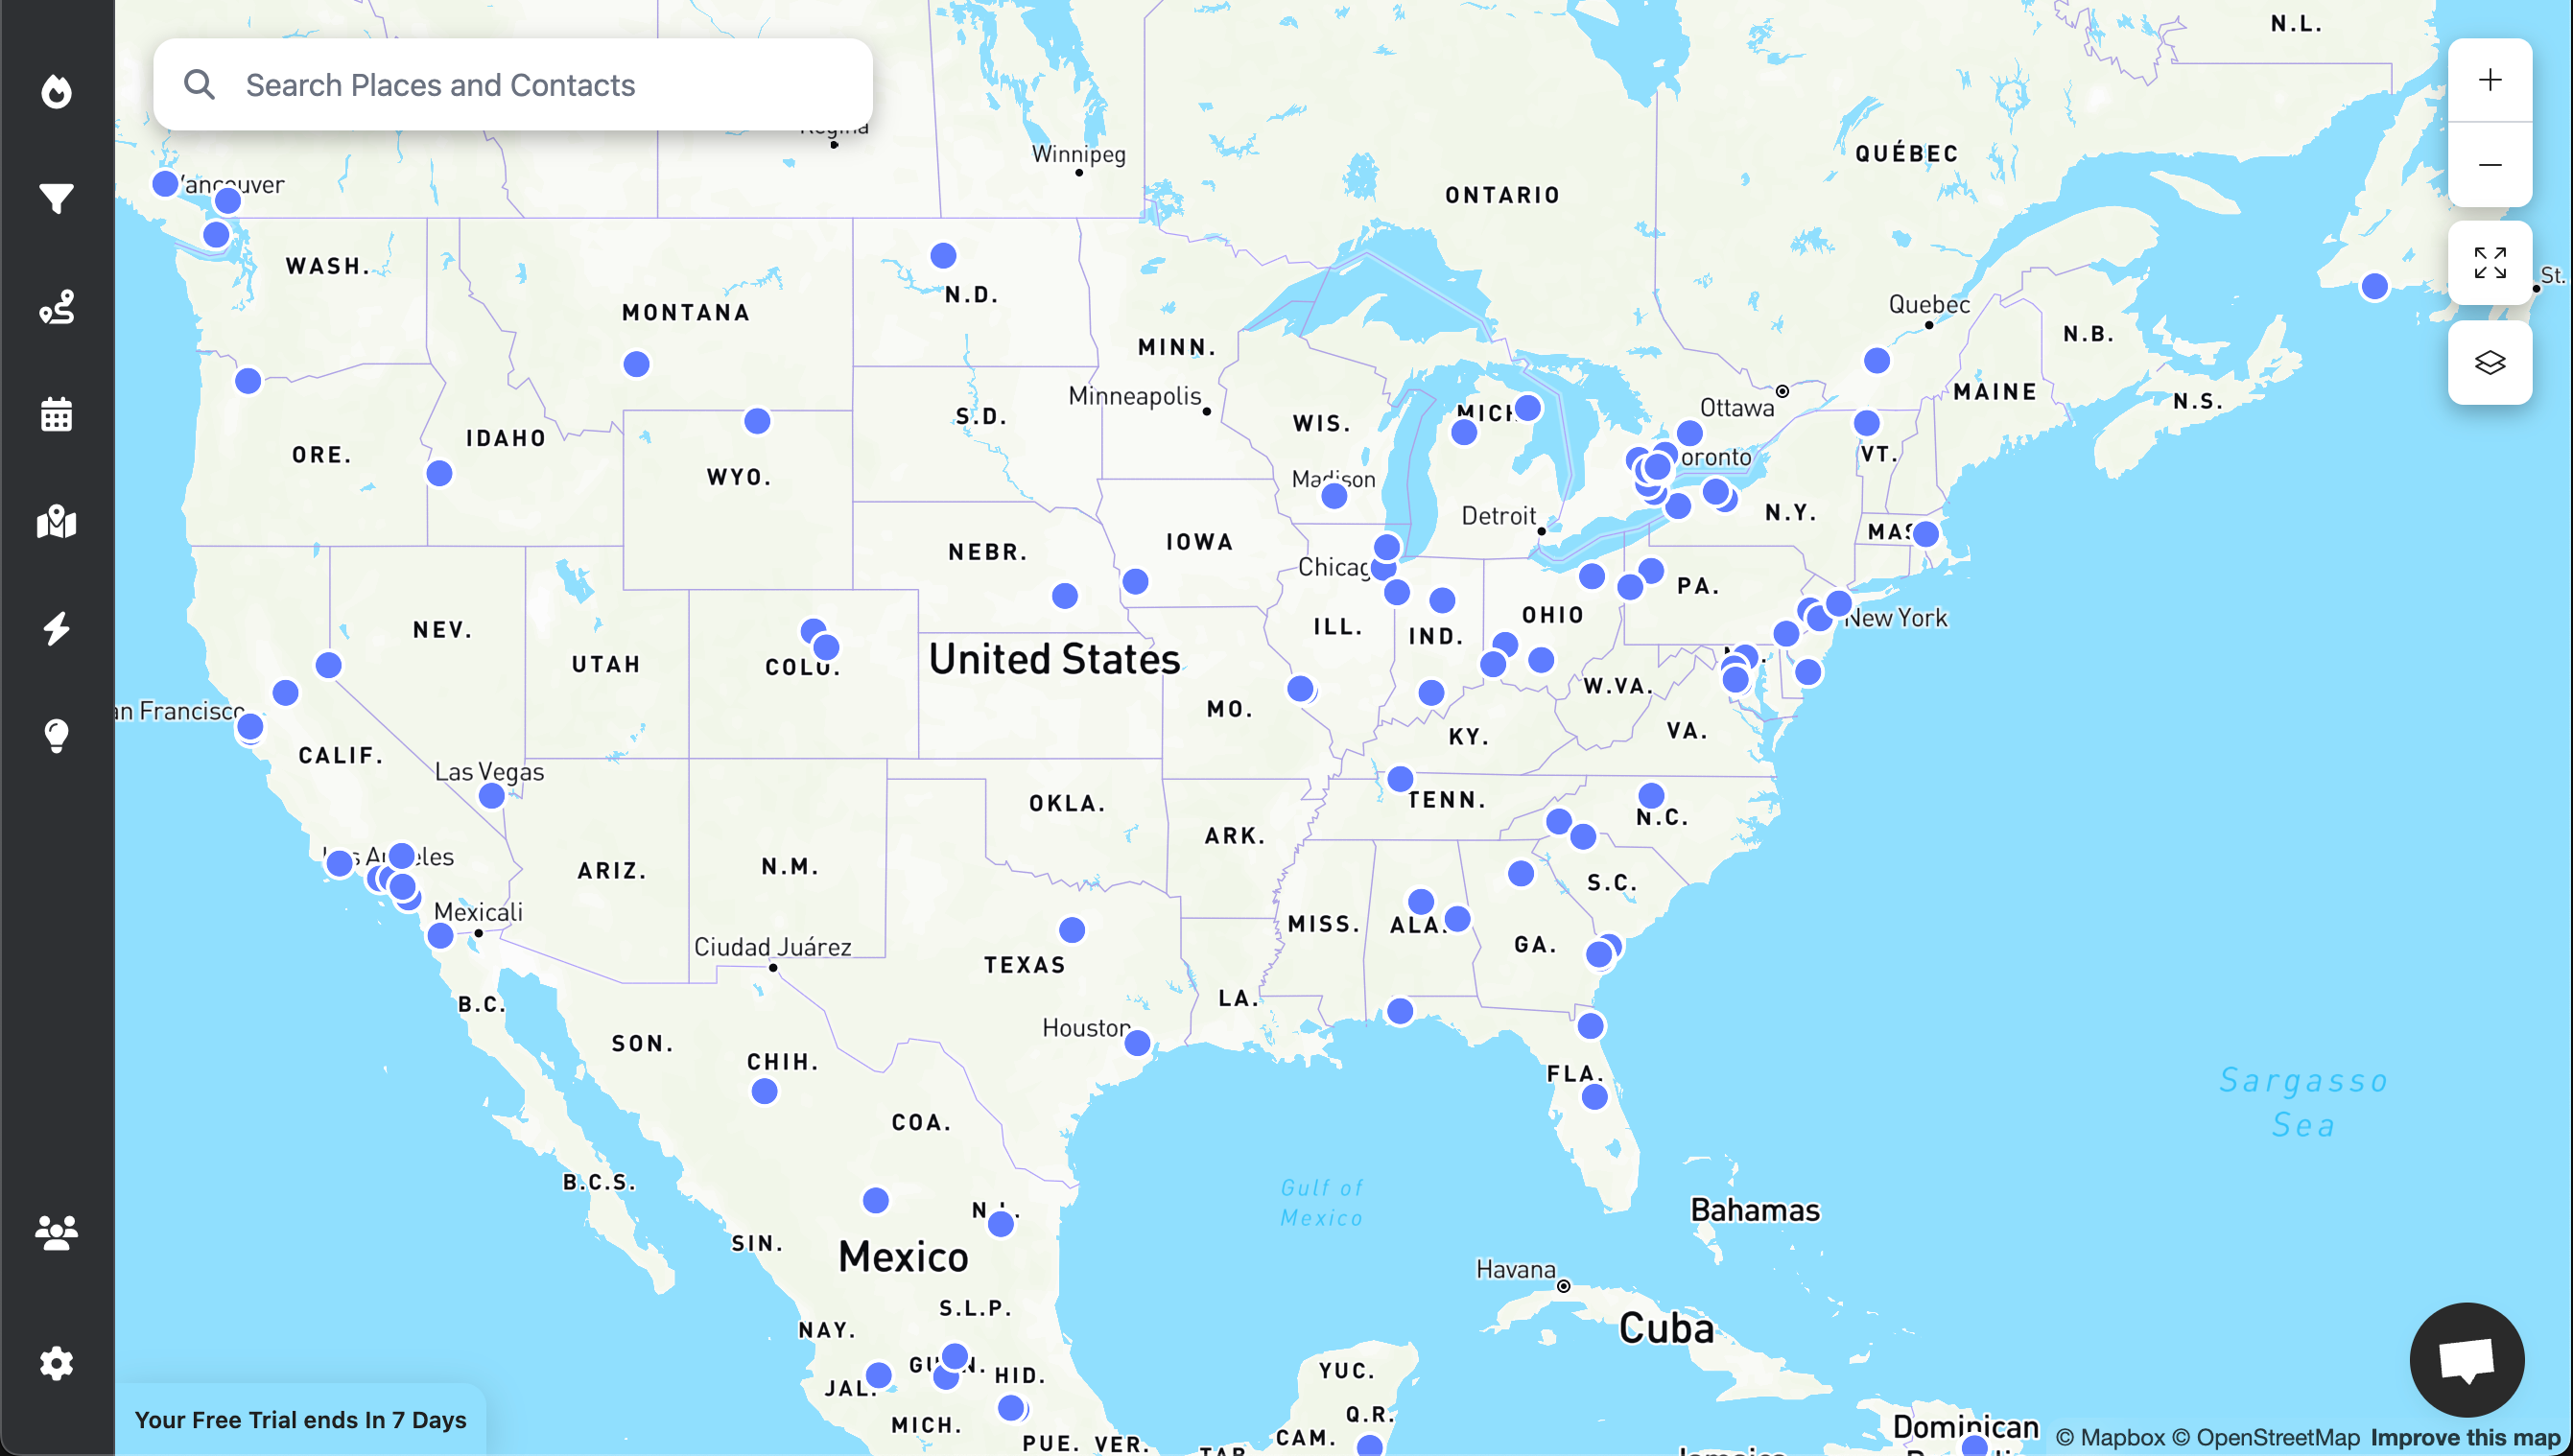
As soon as your data is loaded, you're ready to harness the power of Lead Mapper. Enjoy the experience!
Step 4 (Optional): Install the Mobile App
To access Lead Mapper on the go, install it from the App Store or Google Play Store:
Step 5 (Optional): Install the Chrome Extension
If you're a Google Chrome user and want the convenience of accessing Lead Mapper within your CRM quickly, consider installing our Chrome extension:
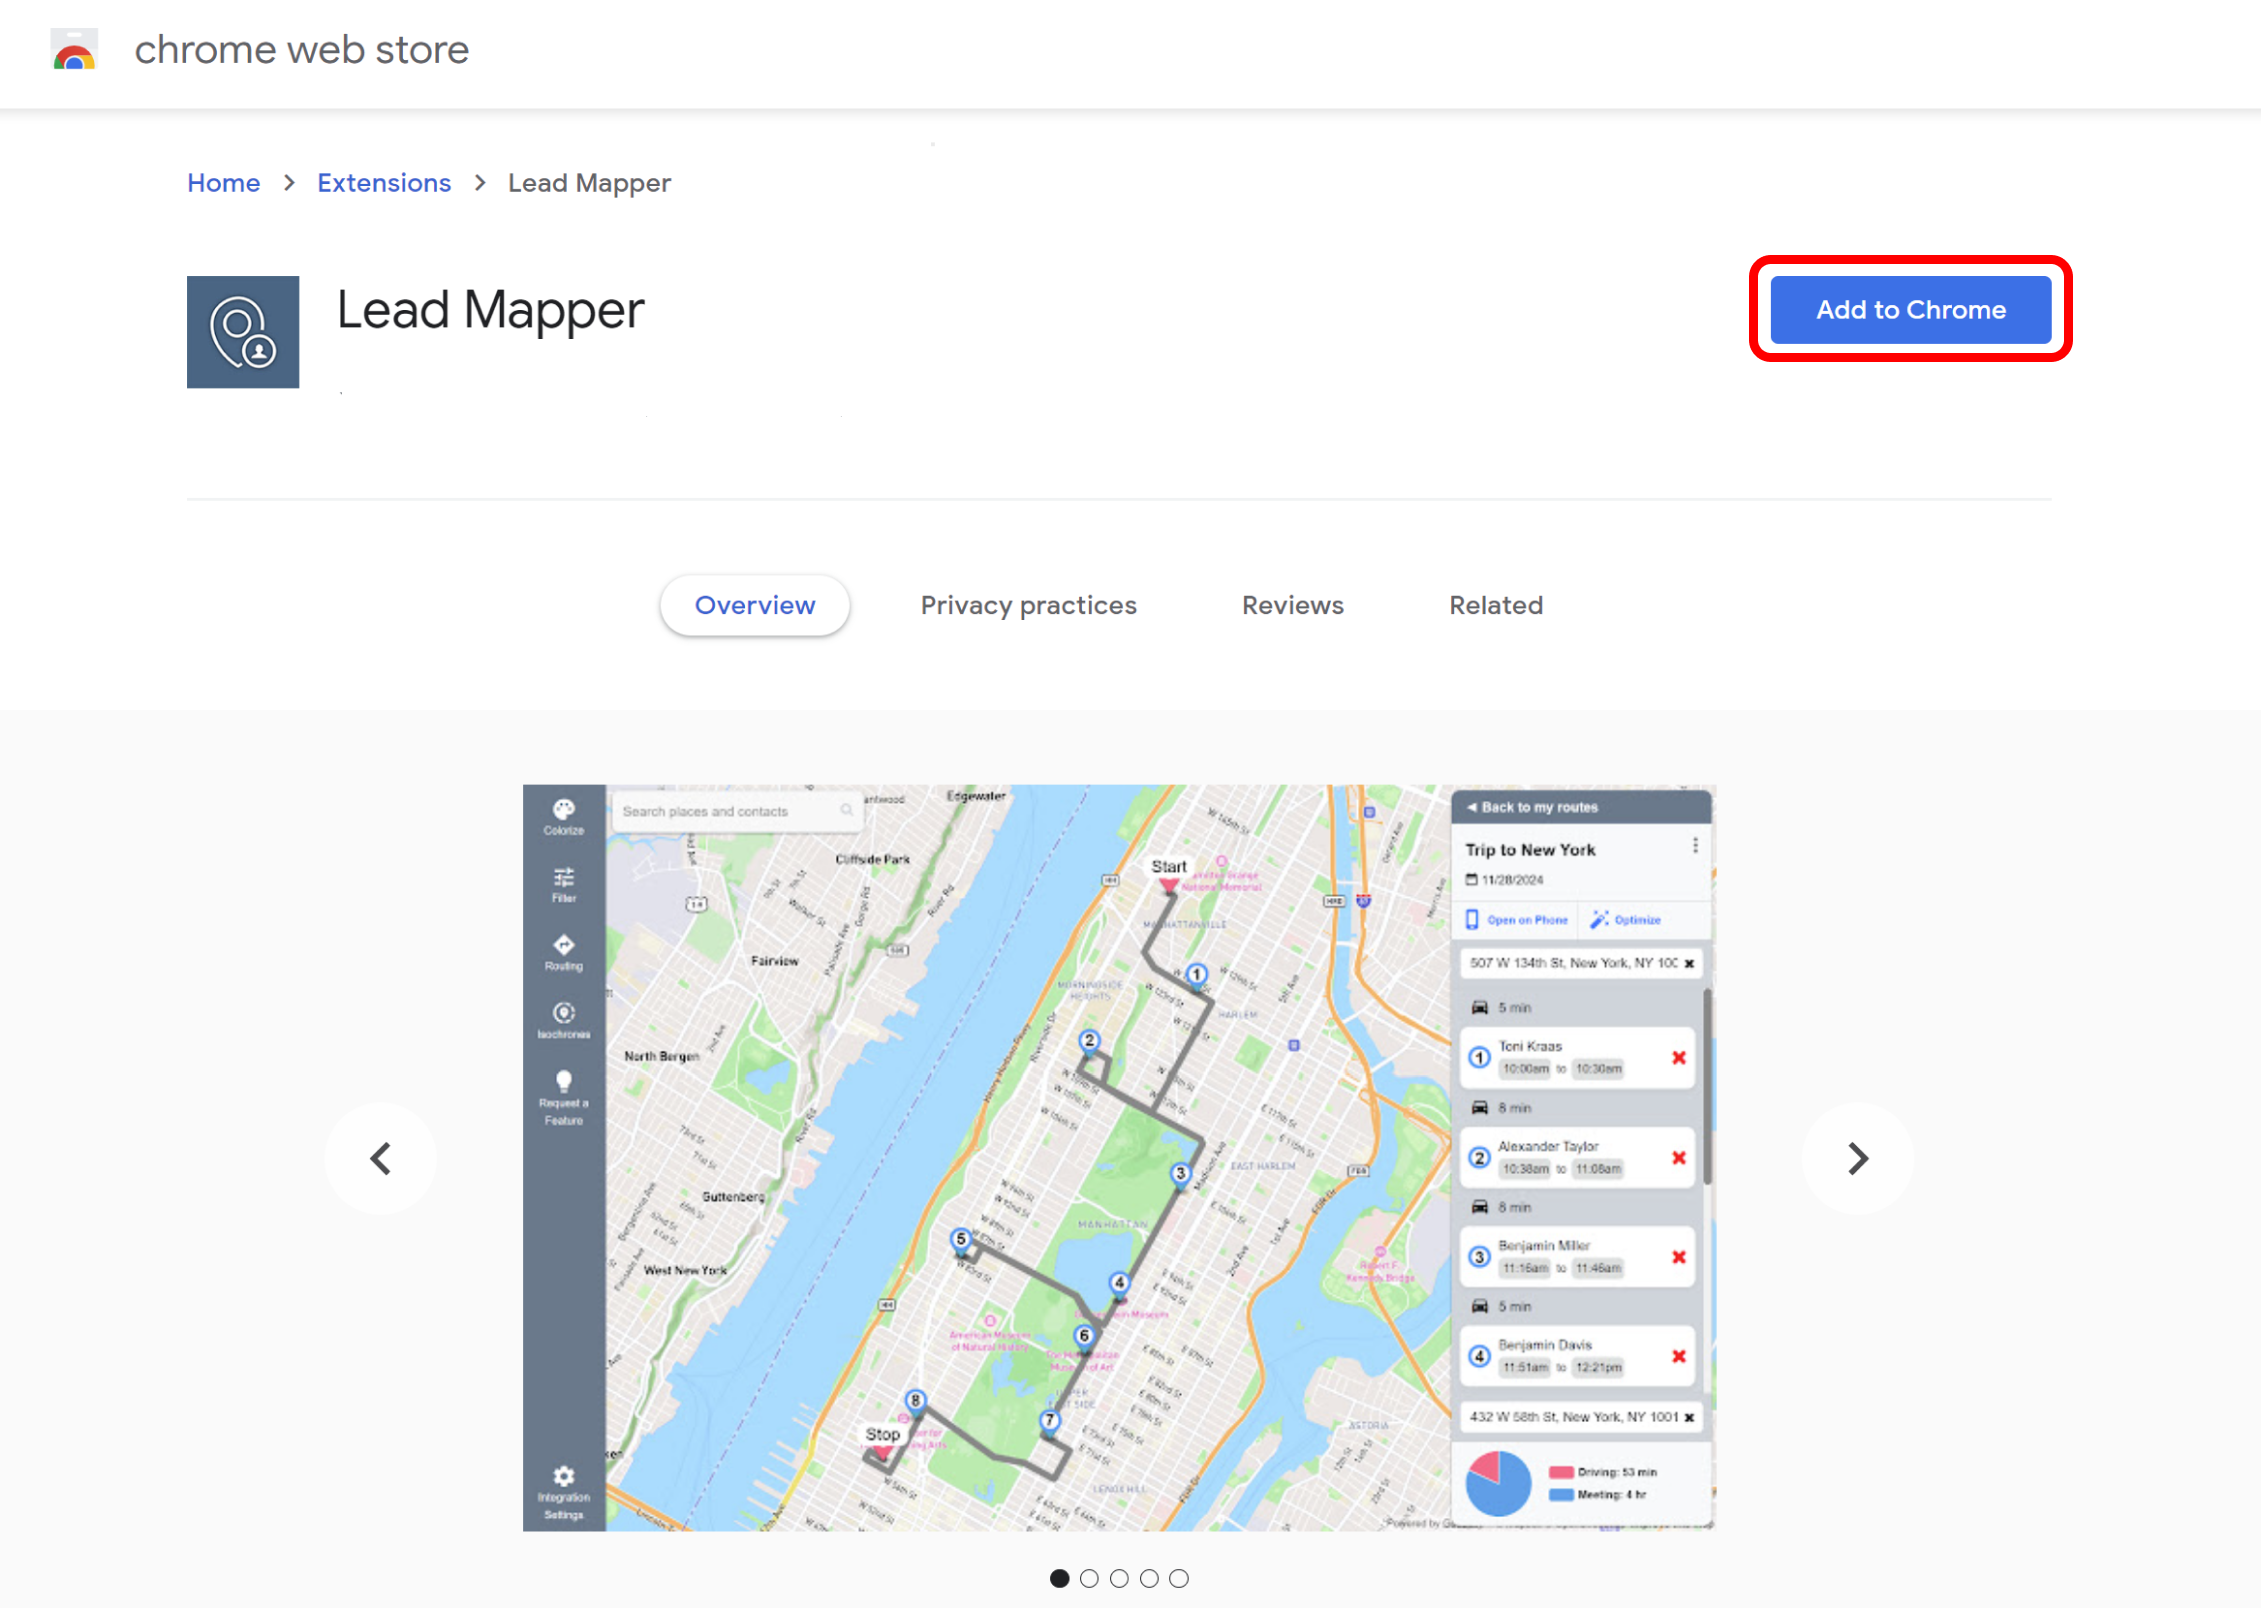
Open Lead Mapper in the Chrome Web Store and click "Add to Chrome" to install the extension.
Now, go back to Close and sign in. You'll notice a new section called "Lead Mapper." Click on it to open Lead Mapper right inside your Close CRM.