
Step 1: Create a Lead Mapper Account
Start your journey by setting up a Lead Mapper account. Follow these simple steps:
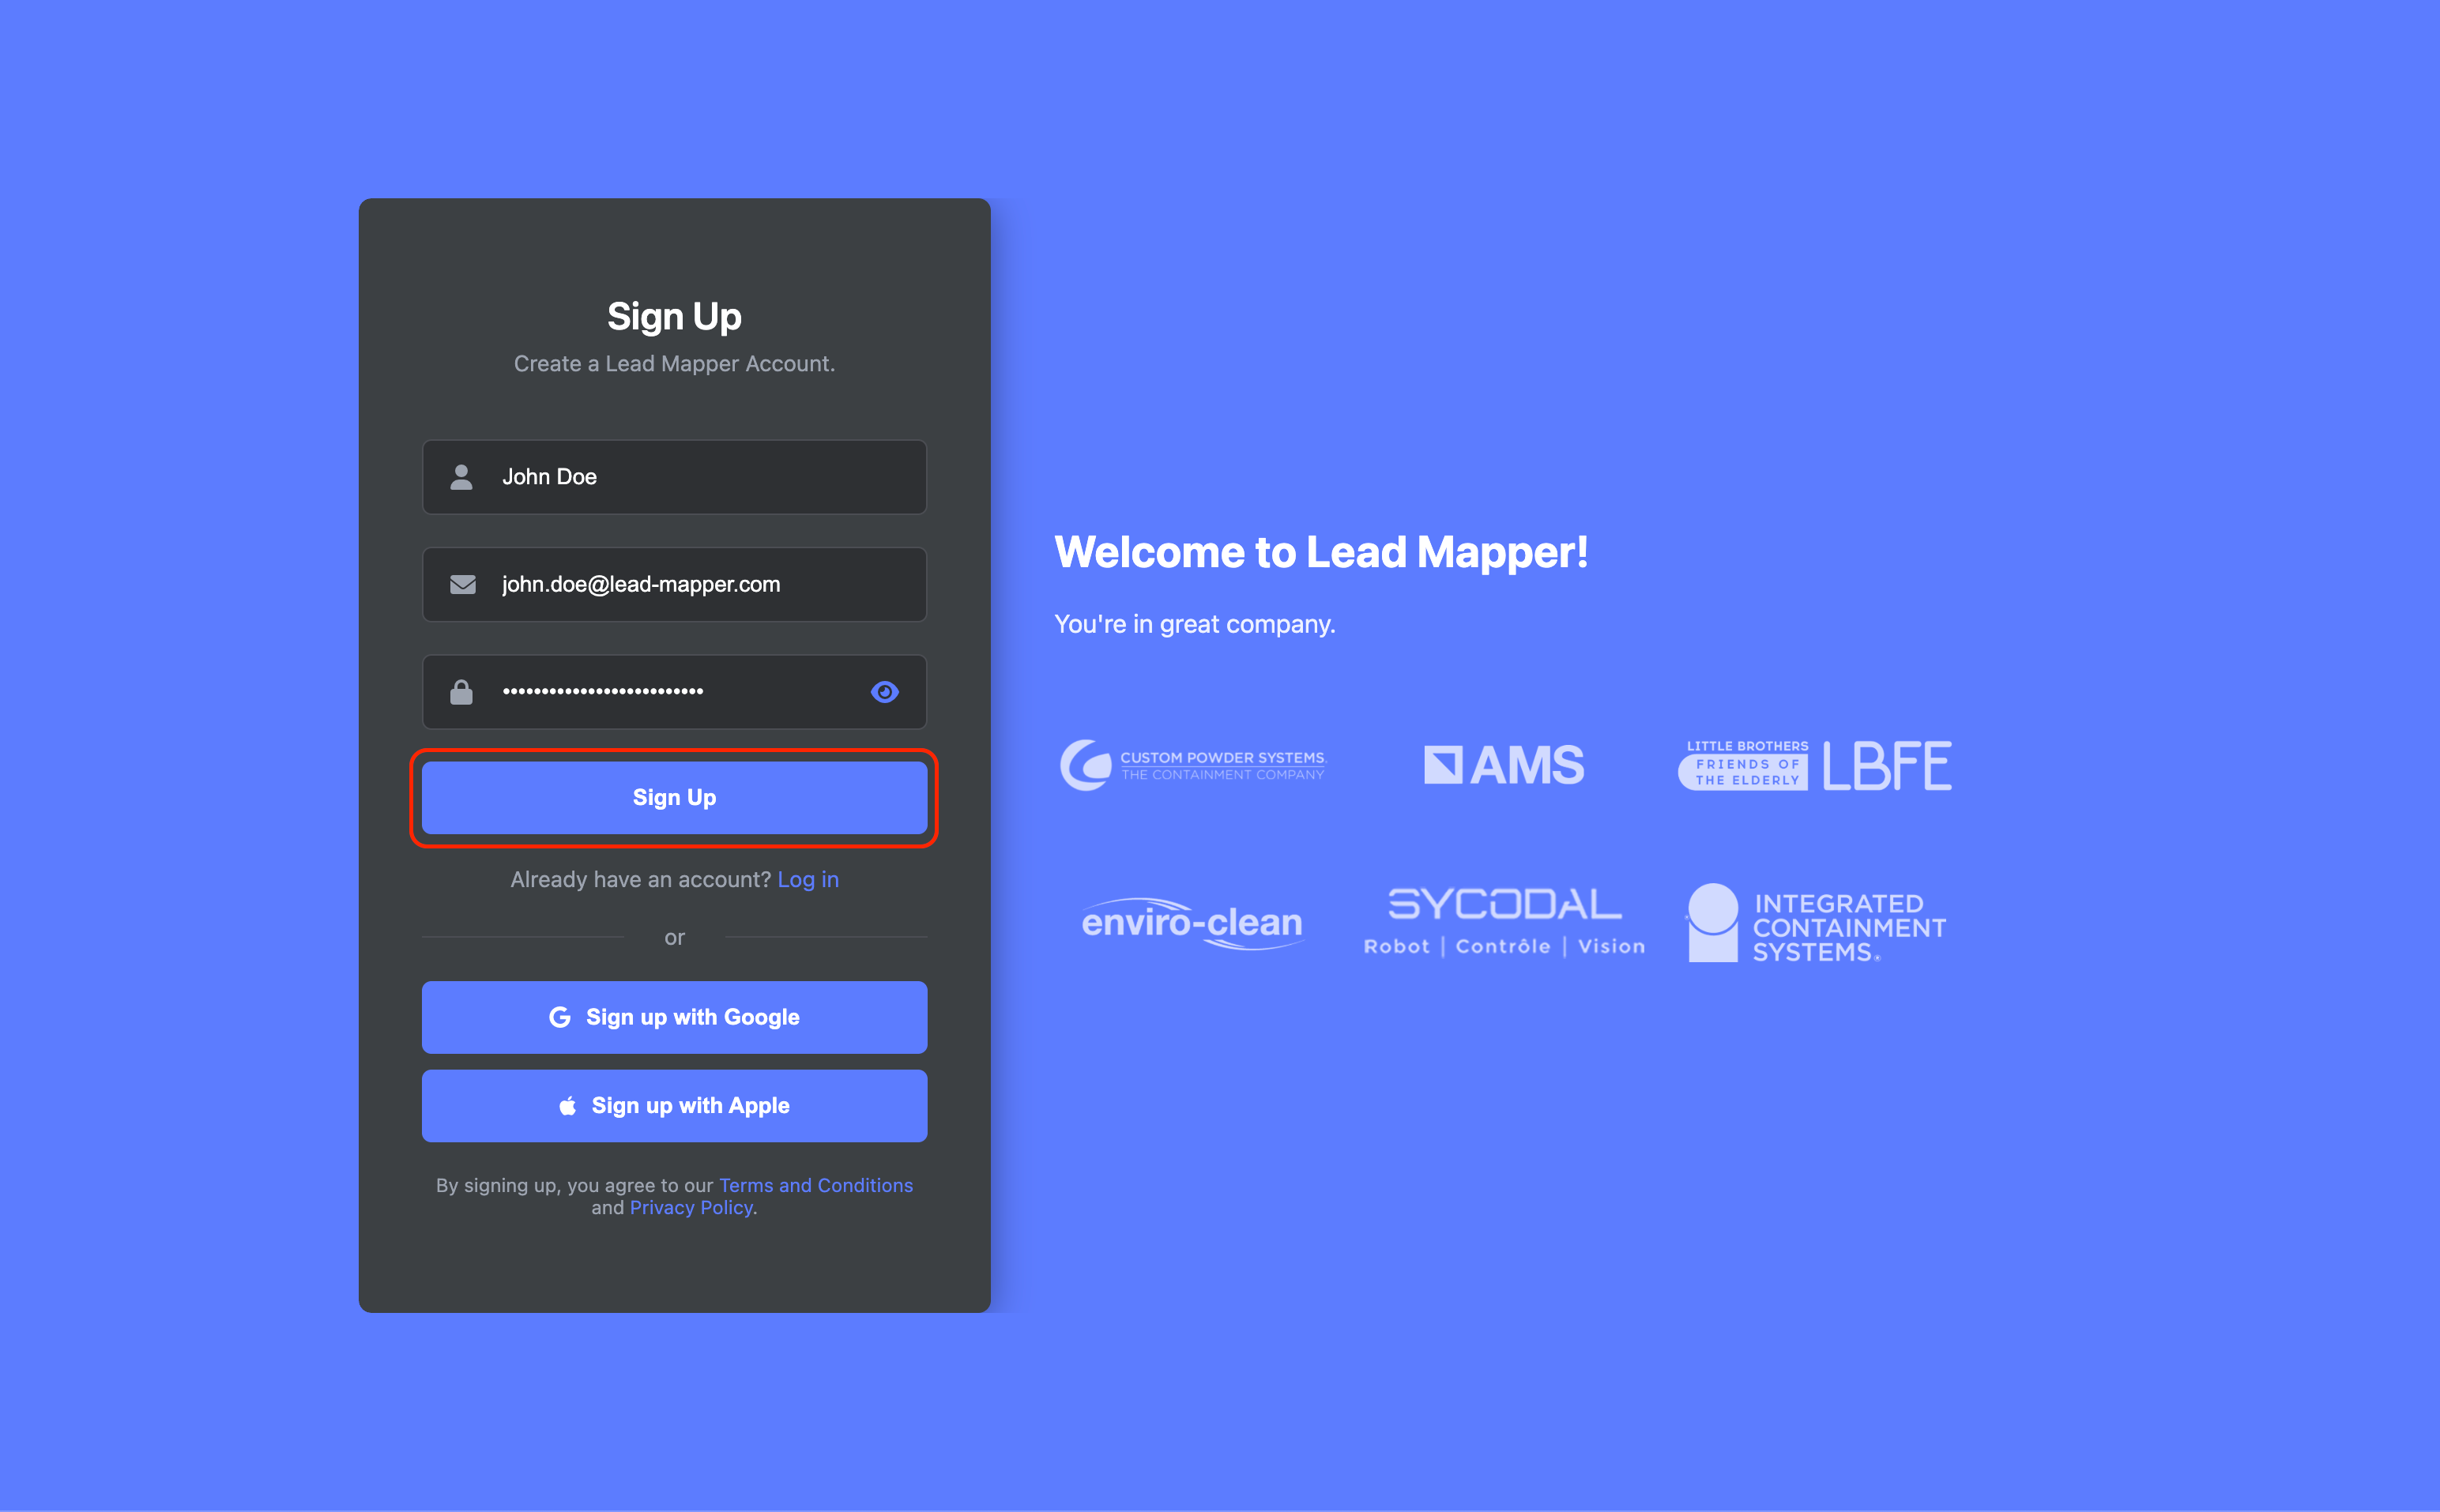
Go to Lead Mapper's website, fill in your name, email address, and password, then click the "Sign Up" button to create your account.
Step 2: Connecting Lead Mapper with GoHighLevel
Now that you have a Lead Mapper account, let's establish a connection with GoHighLevel. Here's how:
Click on the "Connect" option for GoHighLevel.
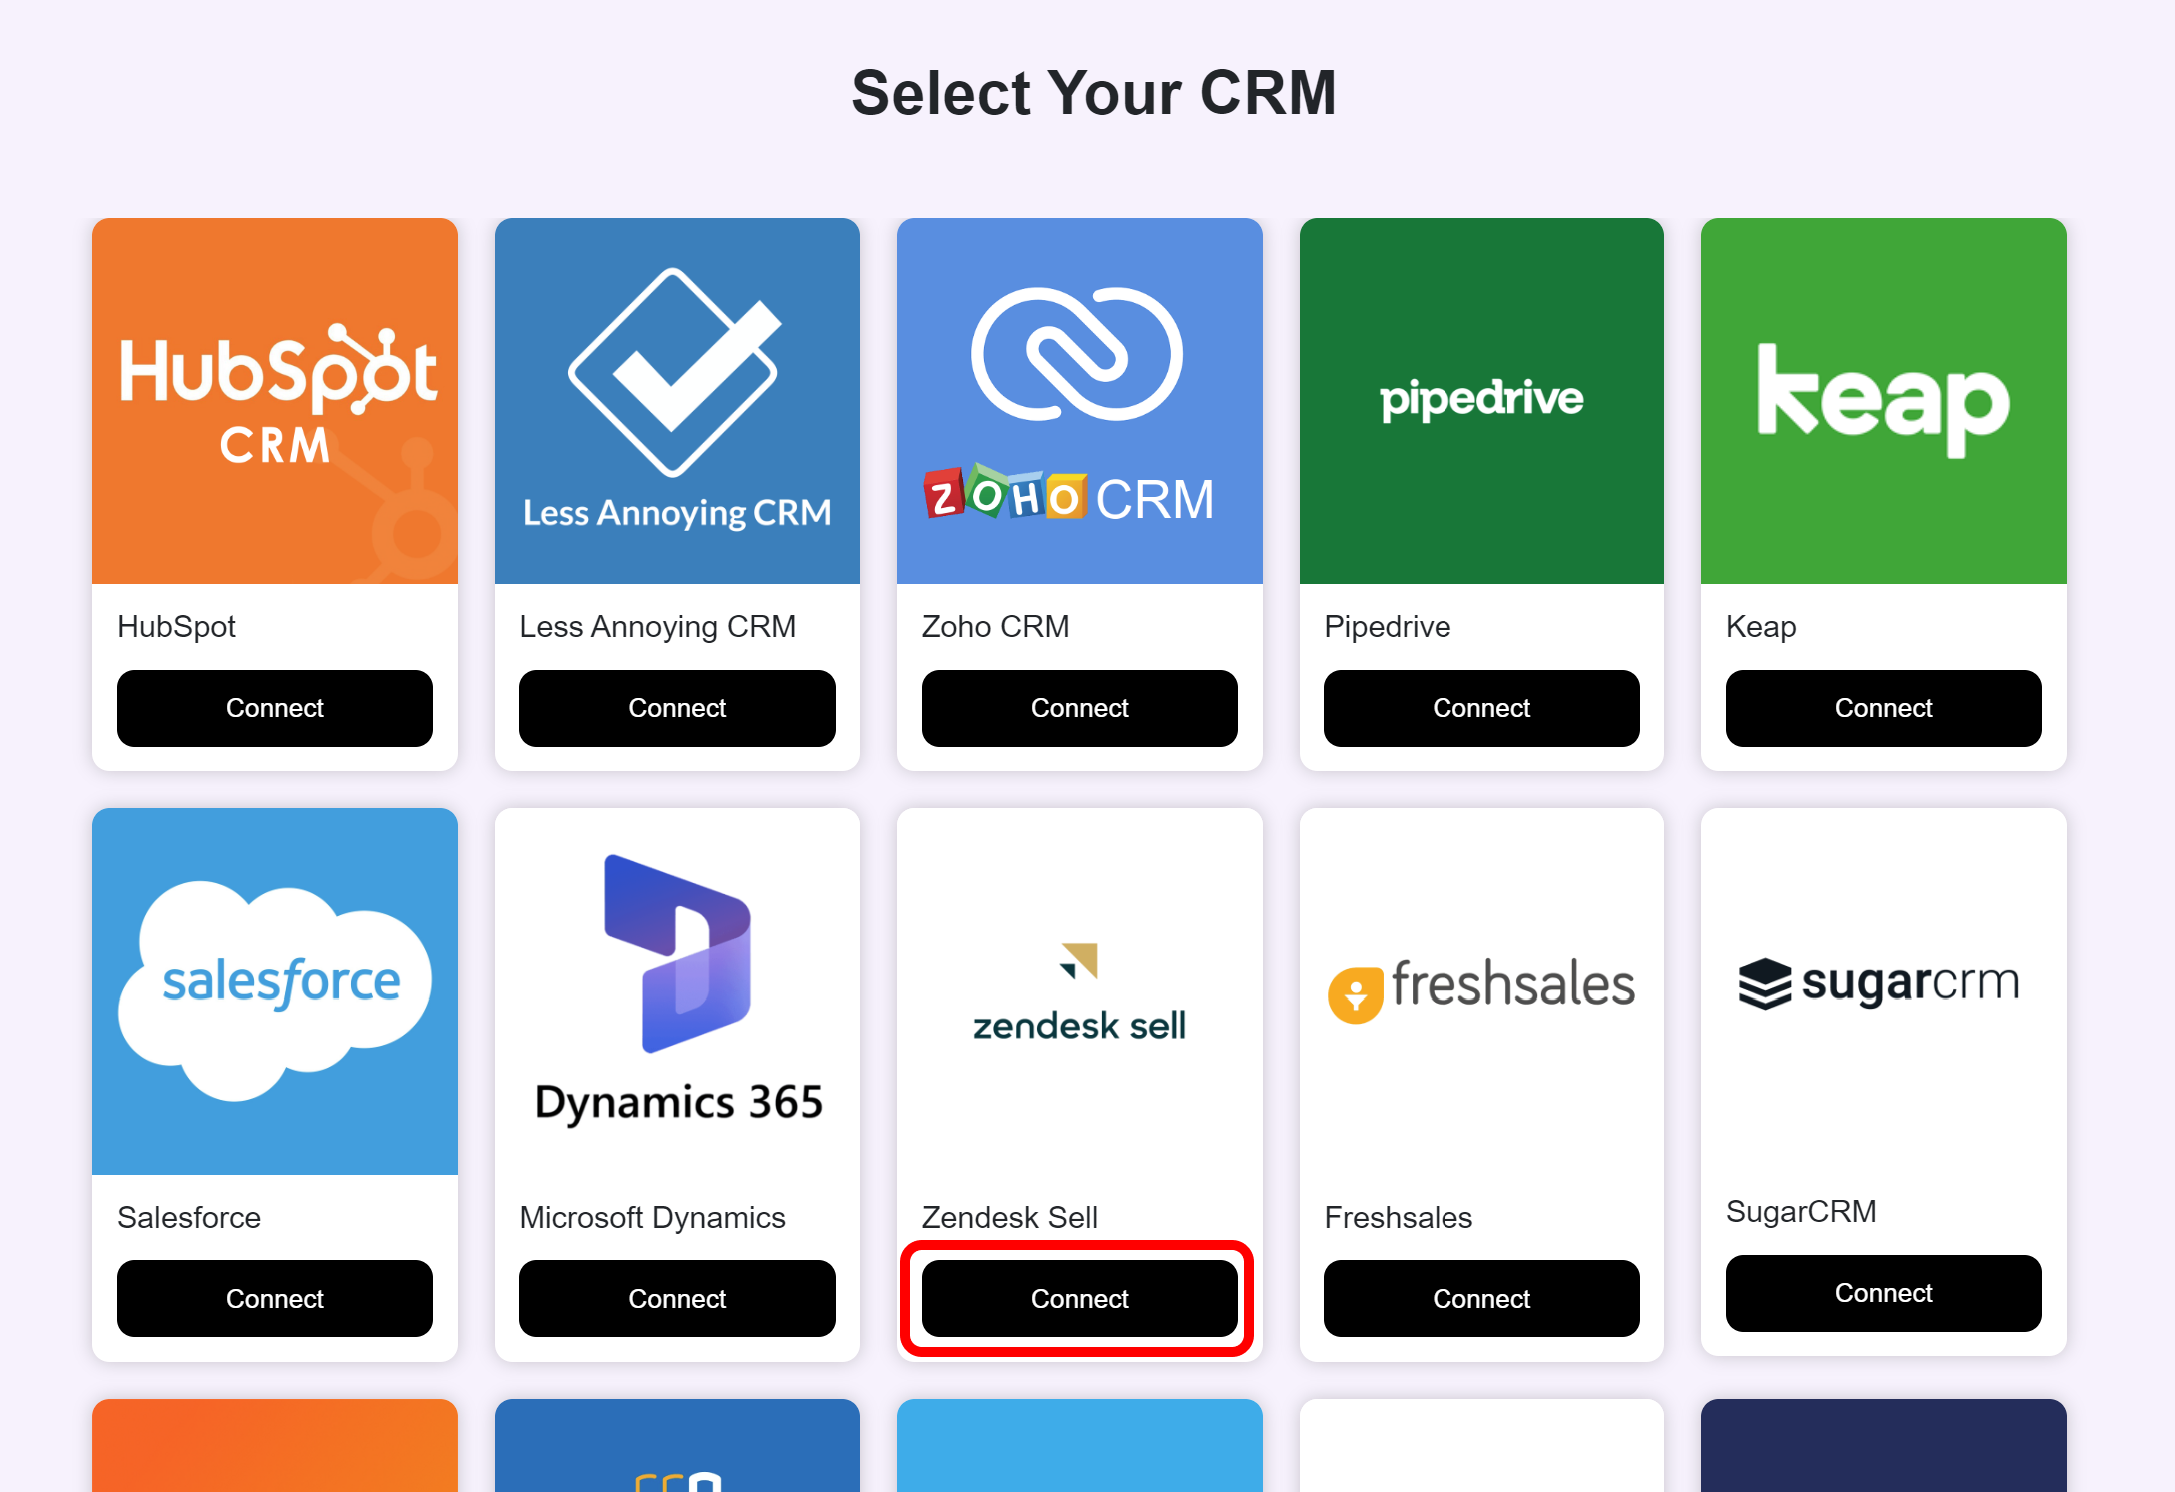
If you're not already signed in to your GoHighLevel account, you'll be prompted to do so. Then choose the sub-account you want to connect.
Click the "Authorize" button to finalize the connection.
Step 3: Wait for your account to be set up
Once you’ve successfully connected your account, Lead Mapper will begin setting up your data and establishing a real-time synchronization channel with your CRM. This data process usually takes between 5 and 30 minutes.
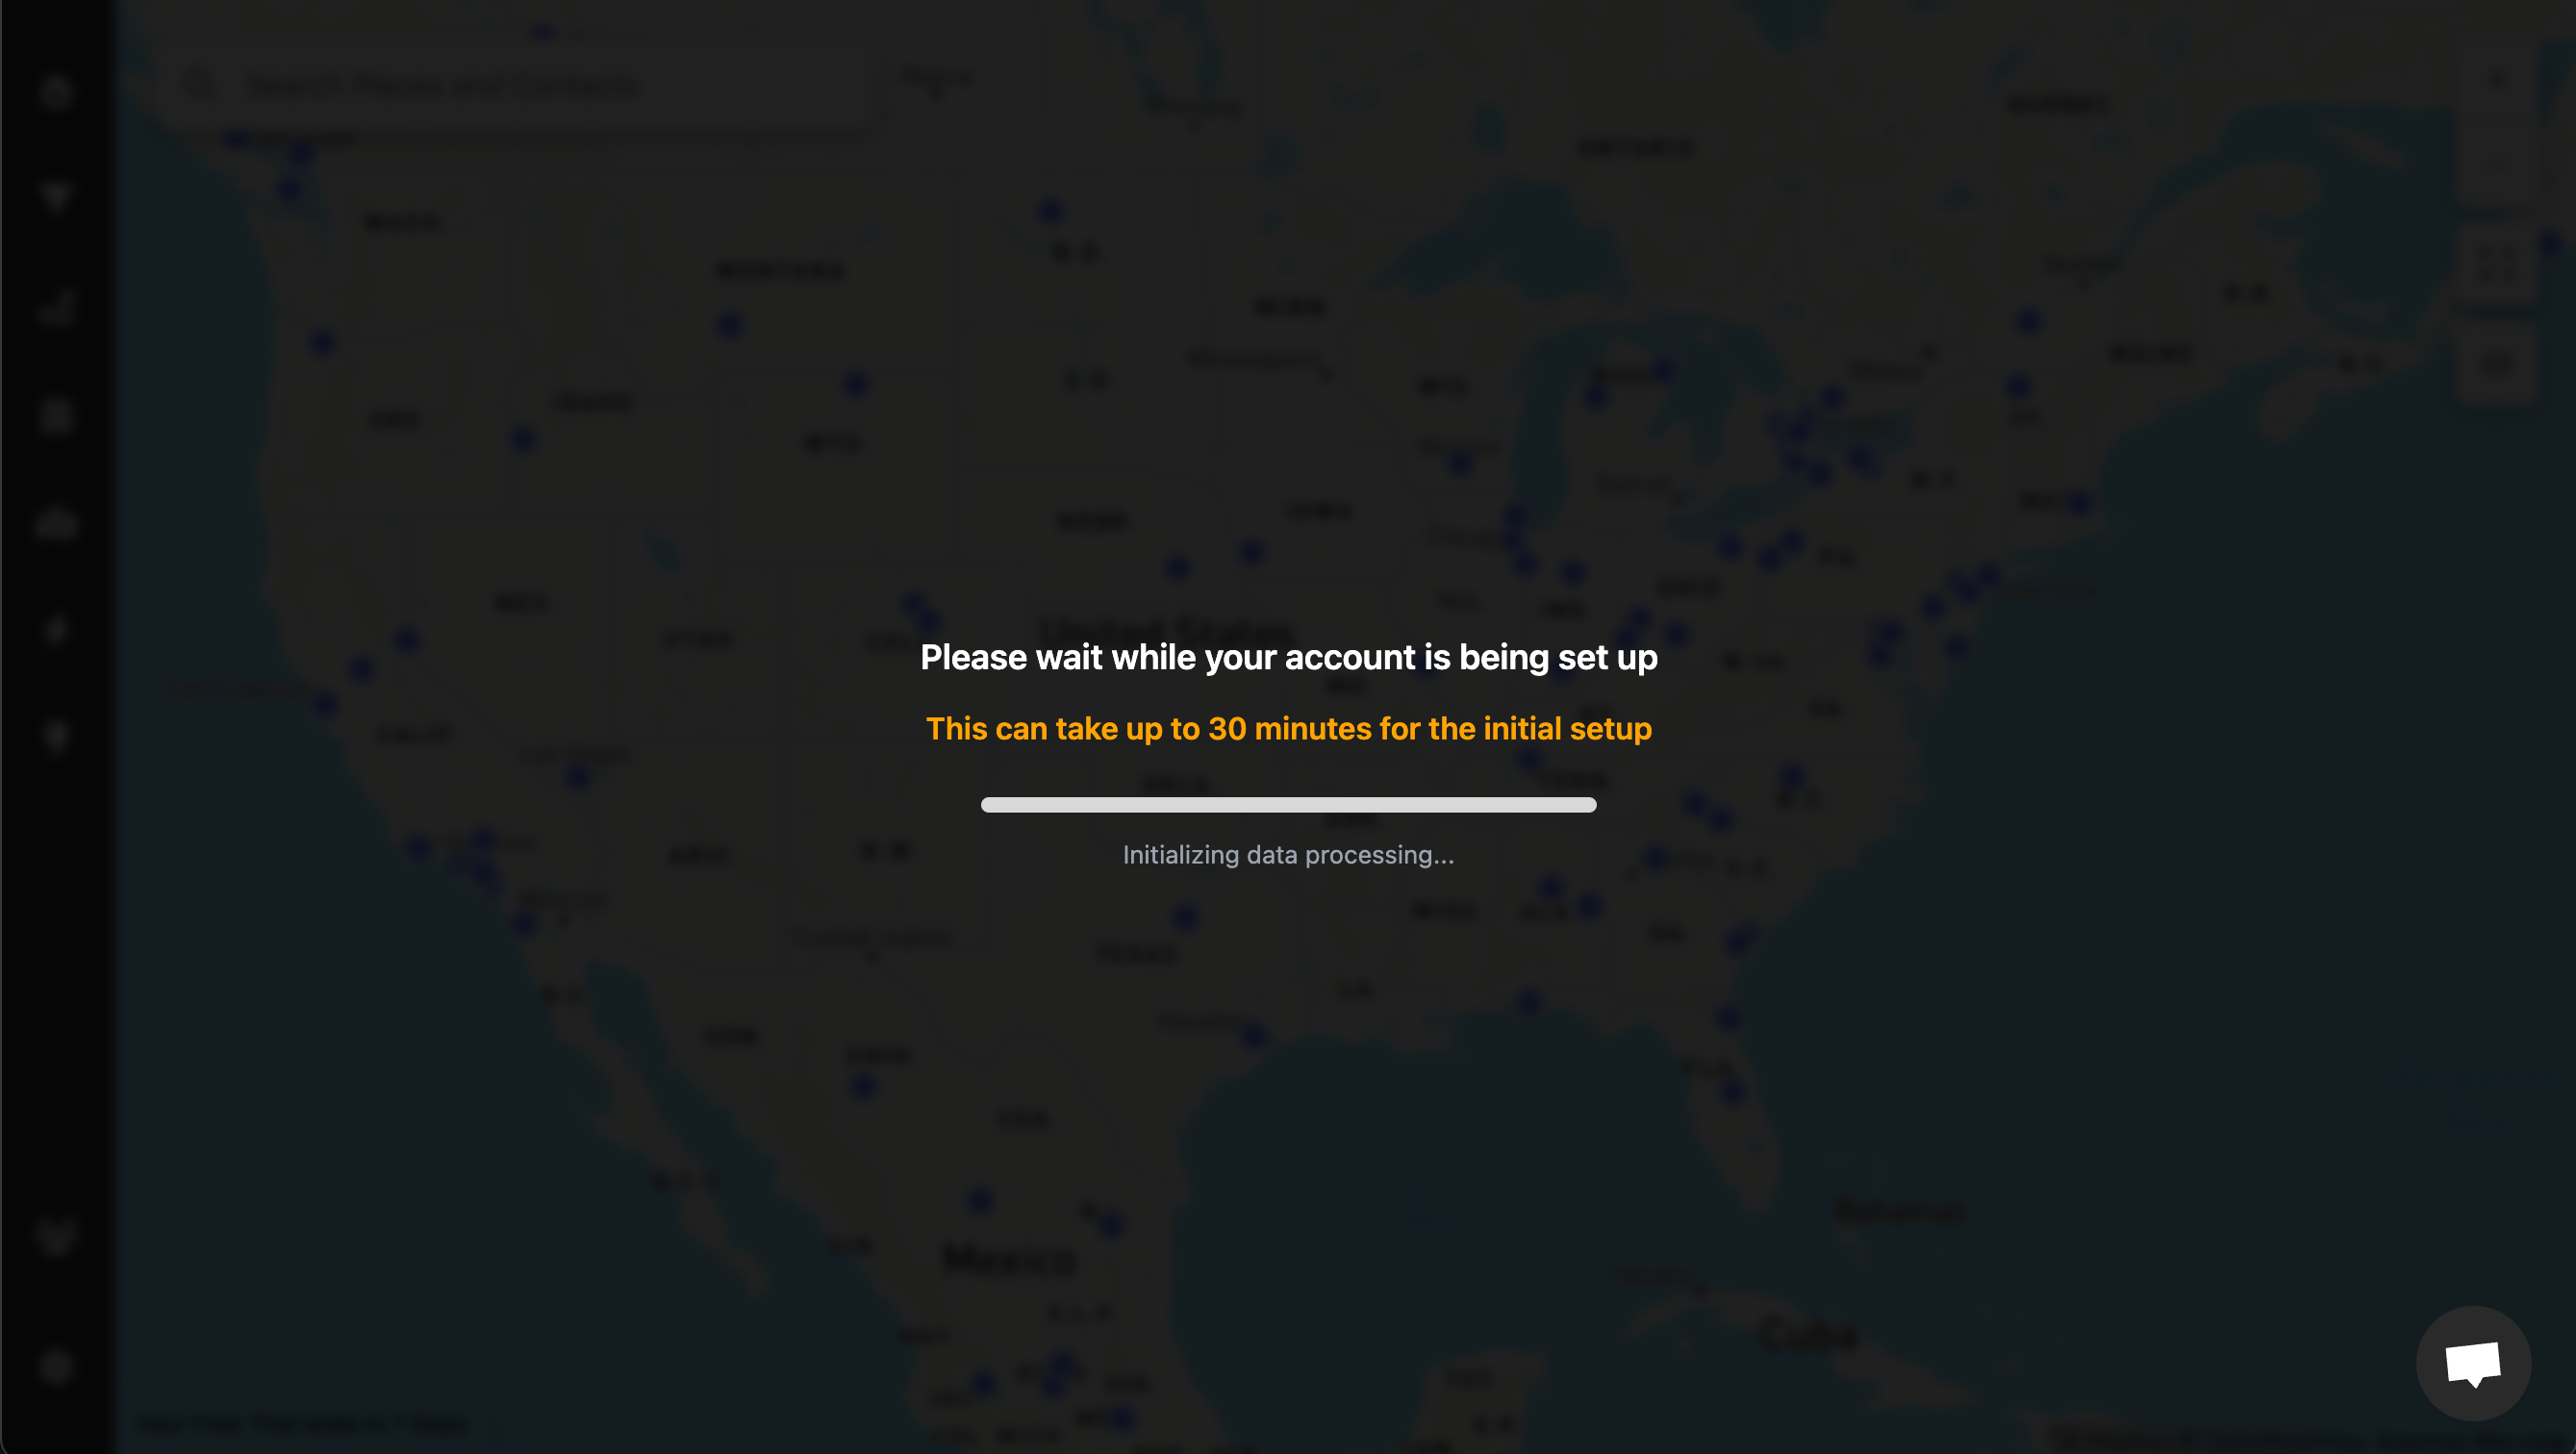
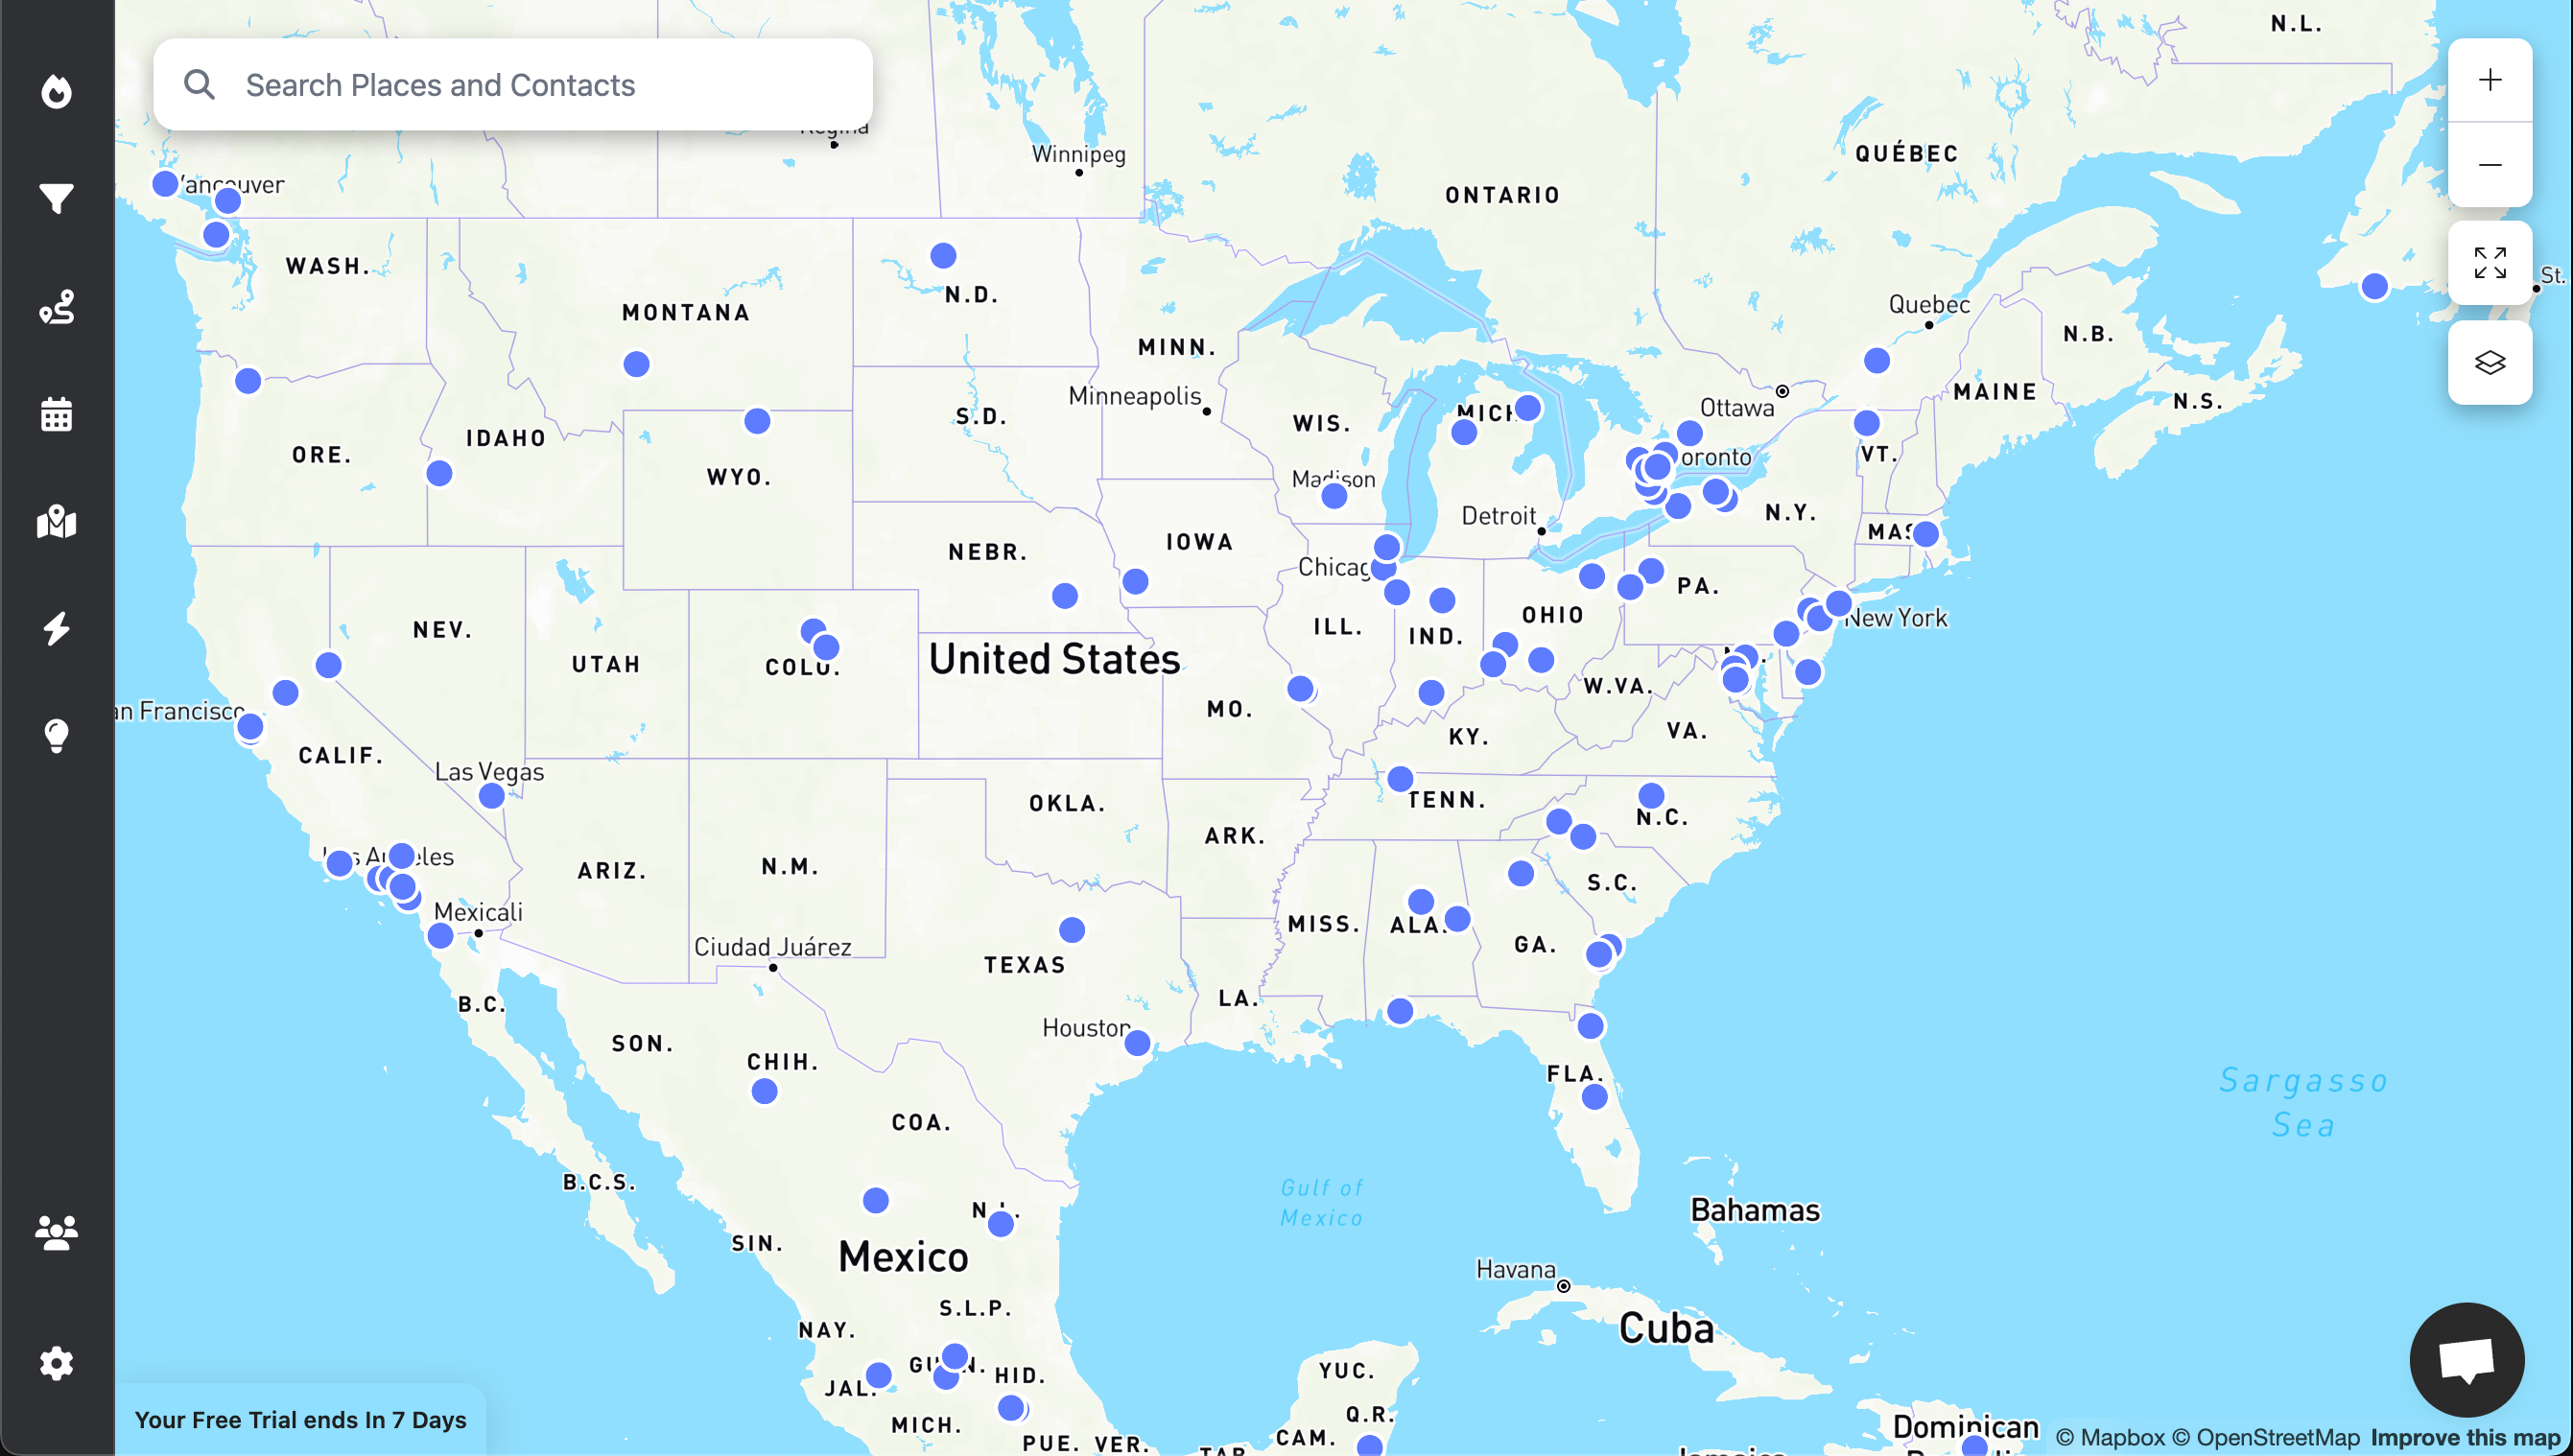
As soon as your data is loaded, you're ready to harness the power of Lead Mapper. Enjoy the experience!
Step 4 (Optional): Install the Mobile App
To access Lead Mapper on the go, install it from the App Store or Google Play Store:
Step 5 (Optional): Jump between the map and GoHighLevel
Every contact on your Lead Mapper map links straight to its record in GoHighLevel
Click a contact on the map and open it in GoHighLevel with one click. Changes you make in GoHighLevel sync back to the map automatically.